
How to Produce a Simple Custom Gifting Range

The finished badge. 30mm hard enamel, gold plating, one for every child and member of staff.
A local school approached me to create a logo for their 200th anniversary and explore some custom merchandise to go with it. Something the children and staff could keep.
There wasn’t a shopping list. Just a conversation about the celebration, and the kind of things they hoped people would take away from it.
During that first conversation, my mind kept coming back to one thing: the school’s badge culture. I know this school, and I knew the children earned and pinned badges to their jumpers every day. I could already picture it. A badge in enamel and gold metal, with a bit of weight to it, becomes a keepsake. I thought I could make it special, so that’s where I wanted to start.
This is the process I followed from that first conversation through to a finished range. How I read the brief, what I developed and why, how I sourced it, and how a badge ended up in three hundred hands.
Reading the brief
“A celebration logo and some merch” was the brief, but a brief like that leaves the interesting decisions to you.
What the school had was an anniversary, a fixed budget they didn’t share with me, and a fixed audience: every child and member of staff. The school would be buying some of the products and gifting them to everyone. What they didn’t have was a view on what was possible, and what was worth producing.
So my job was to work out who the products were for, how they’d be used, and what success looked like.
In this case, every child and every member of staff would receive something to mark the school’s anniversary. It was a commemorative project for an entire community. That narrowed the options straight away.
Deciding on the range
I didn’t come back with a catalogue listing everything that was possible. A good recommendation is mostly about what you leave off.
The badge led, for everyone. There’s no demand question to worry about there. Everyone would receive one, the use is obvious, and the unit cost is low enough that making one for every child and staff member was worth it. It already had meaning in the school. The easy yes.
The other products we discussed were tote bags, ceramic mugs, apparel, and a handful of smaller items. Tote bags had come up in the first conversation. Ceramic mugs were something the headmistress wanted for the staff room, but they were budget dependent. Apparel was something both children and staff could wear every day. The keychains, pencils, stickers, travel mugs and water bottles were nice add-ons once the hero products were decided, not a priority.
The badge was the only thing I recommended ordering outright. Everything else sat behind a “yes, if the budget stretches” or a “let’s wait and see.”
We ended up with a range of five products, the badge as the hero. Here’s how I took it all the way through to delivery.
Sourcing the badge
I went to a handful of manufacturers with the same spec and asked them to quote. The thing that separates one enamel badge from another is the finish, so that’s what I compared first, more than price.
There are three common ways to make one. Hard enamel is polished flush with the metal. It’s the premium option, it feels solid, and it’s the one that survives being knocked about in a school bag for years. Soft enamel has a slightly recessed, textured finish that can work well with the right design. It’s cheaper and perfectly good, but it doesn’t wear quite as well. Printed badges are the fastest and cheapest, but we wanted something more special.
So I was choosing between suppliers on quality and lead time, with price as the tie-breaker.
Here’s how the quotes compared on a run of 300 units:
Supplier A: 30mm hard enamel, 4 colours, gold plating, metal clutch. £1.18 a unit, £354 in total. Comfortably inside the deadline.
Supplier B: 25mm soft enamel, gold/silver plating, 1pc clutch. £0.70 a unit, £210 in total. Cheaper, but you’d feel the difference in the hand.
Supplier C: 30mm hard enamel, 5 colours, gold plating, metal clutch. £1.15 a unit, £345 in total, marginally cheaper than A, but a longer lead time ruled it out.
I went back to the school with one recommendation, Supplier A in hard enamel, and the reasoning behind it, with the other two included so they could see what I looked at. I try not to hand a client three quotes and leave them to work it out.
The comparison and the advice are the job.
Getting it made
Once the logo was signed off, I had the badge mocked up so the school could see the object rather than picture it. It’s a small step that saves a lot of grief, because it’s far easier to change your mind about a drawing than about three hundred finished badges.

Badge mockup approved before production.
Badge mockup approved before production.
Then artwork to the manufacturer’s spec, Pantone shades approved, and the order placed.
Before committing to the full 300, I wanted eyes on what was coming off the line. A physical sample is the best option, but it adds around three weeks, and on a fixed deadline I didn’t have three weeks. So I asked for a photo of one of the first units straight from production instead. I could still check the enamel fill, the colour against the artwork, and the finish on the pin and back. The photo was right, so we ran the full order.
This step sometimes gets skipped because it costs time and, with a physical sample, money. But I’d much rather catch a colour that’s slightly off or a fill that isn’t sitting right on one unit than on three hundred. If you can’t spare the time for a real sample, ask for a picture of a unit off the production line. It’s not as good as holding one, but it’s most of the way there.
The finished range
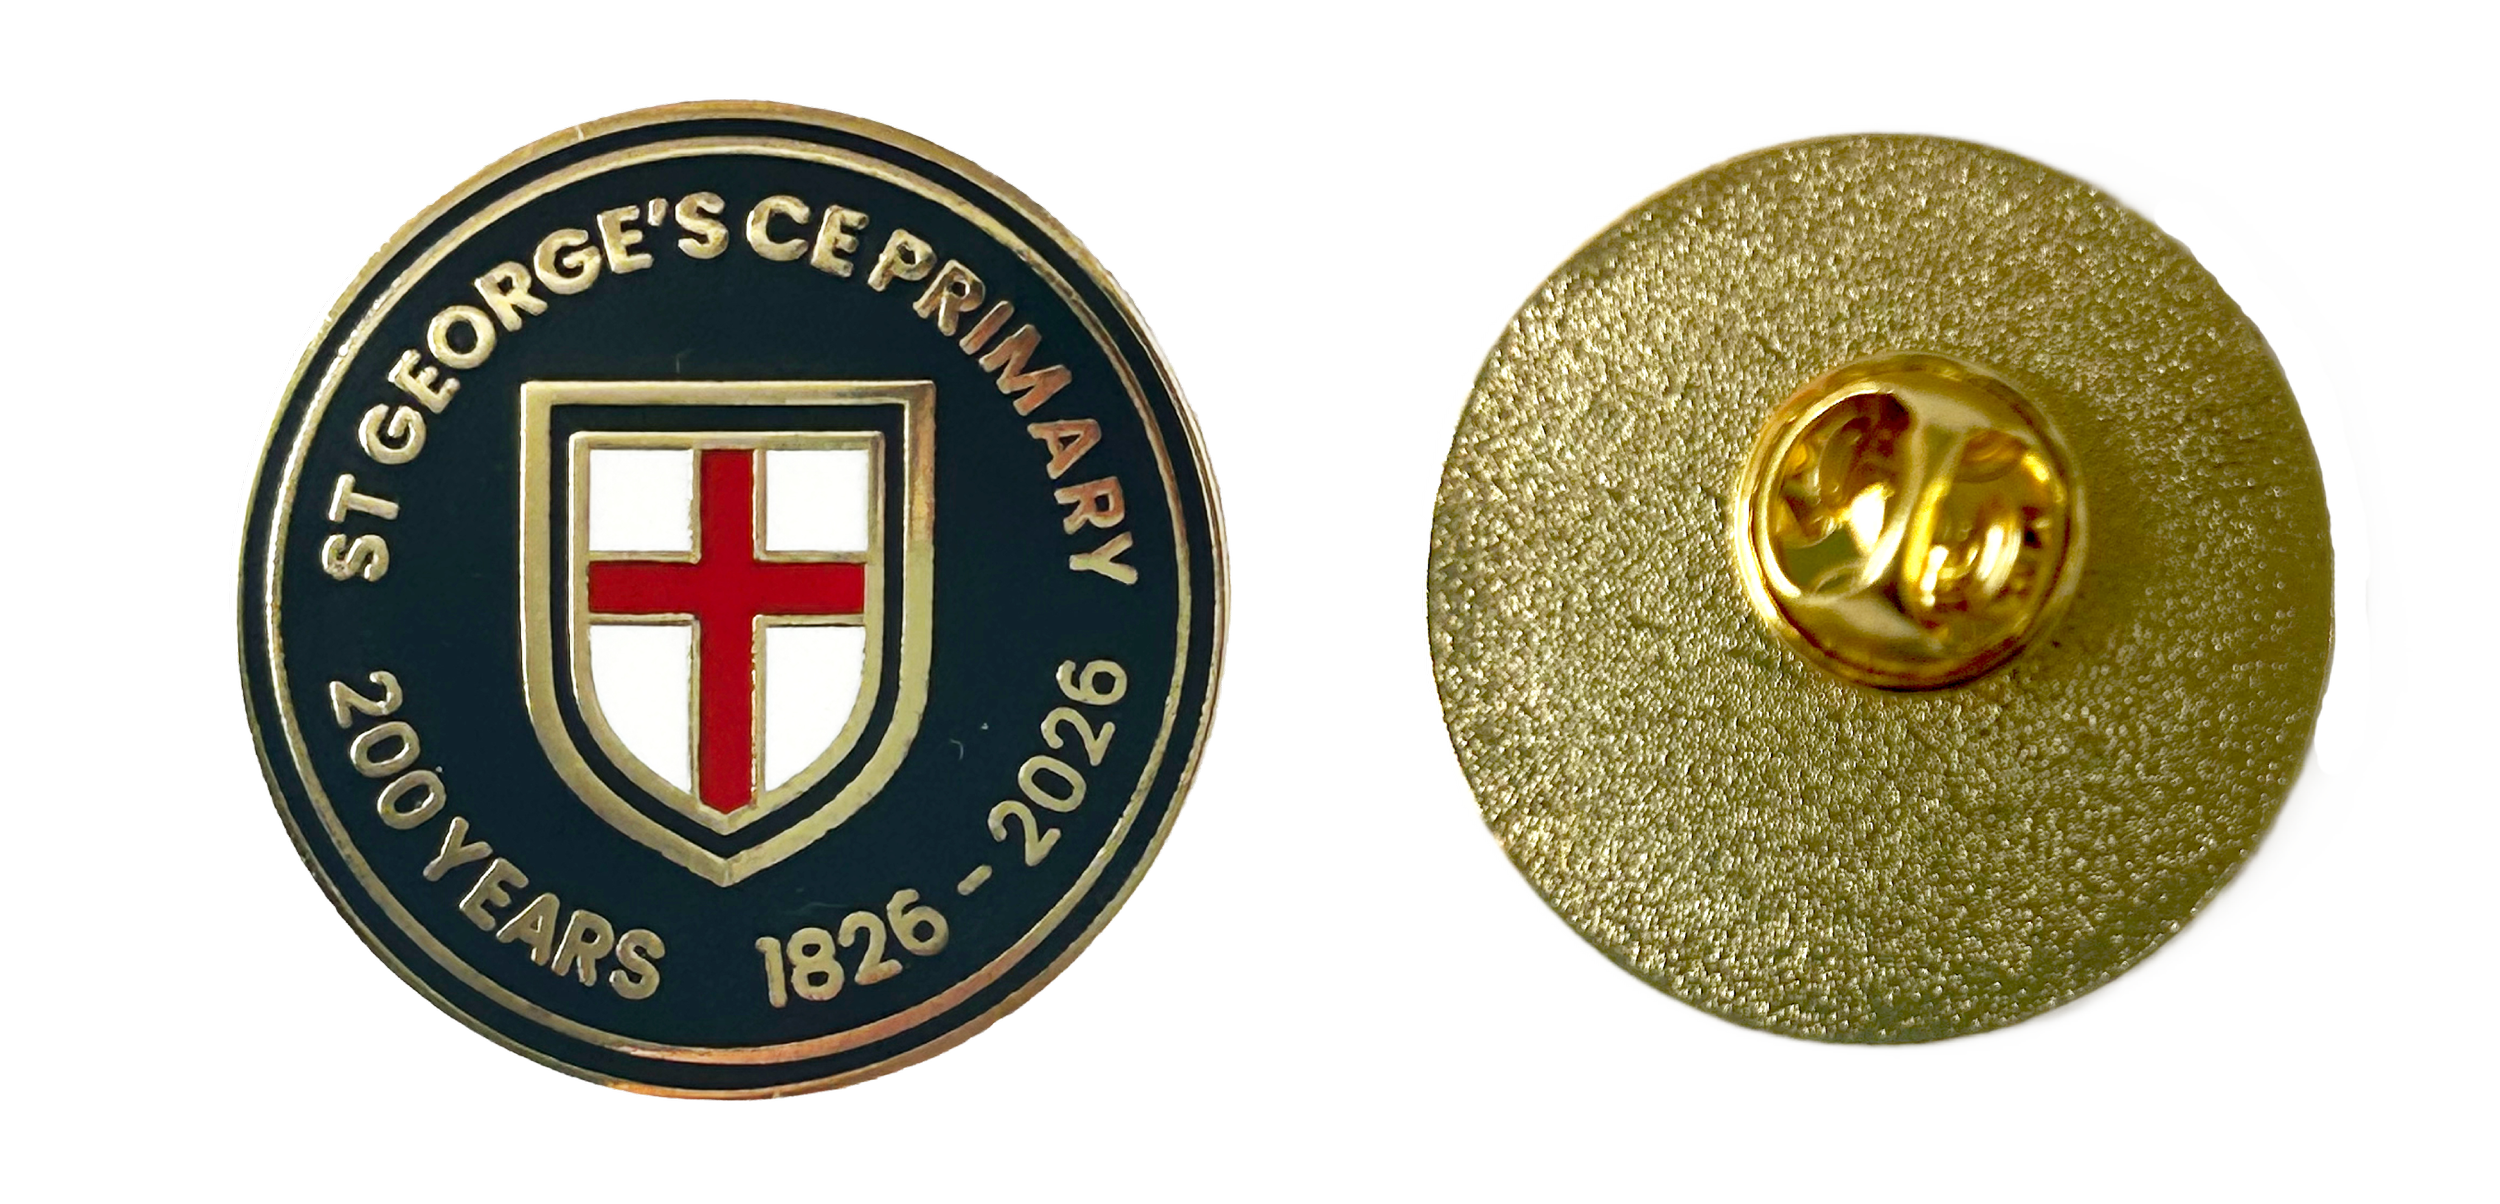
Front and back view of the badge.
Three hundred hard-enamel badges, one for every child and staff member, looking the way the mockup promised. Even better than I’d imagined.
Looking back, what made the badge work was never only the quality. It already belonged to the school, a celebration of a tradition that was already there. The judgment was in seeing early which one item this school would keep, then making it well enough to deserve that. Everything else in the range was arranged around it.